Fill corn (or flour) tortillas with leftover pork or chicken and cheese, then top with a creamy sauce, made with milk, chicken broth and green chiles. Add cheese on top and bake for 20 minutes! Super quick and easy!
Fill corn (or flour) tortillas with leftover pork or chicken and cheese, then top with a creamy sauce, made with milk, chicken broth and green chiles. Add cheese on top and bake for 20 minutes! Super quick and easy!
Preheat oven to 400. Spray 9x13" baking dish with Pam.
Melt butter in saucepan. Add flour to make a roux. Add milk, water, chicken base and seasonings. Stir and cook until thickened. Add green chilies.
If using corn tortillas, it is helpful to steam them first to avoid cracking. Wrap 3 tortillas at a time in a damp paper towel and microwave for 30 seconds. Fill each tortilla with meat and cheese, reserving cheese for top.
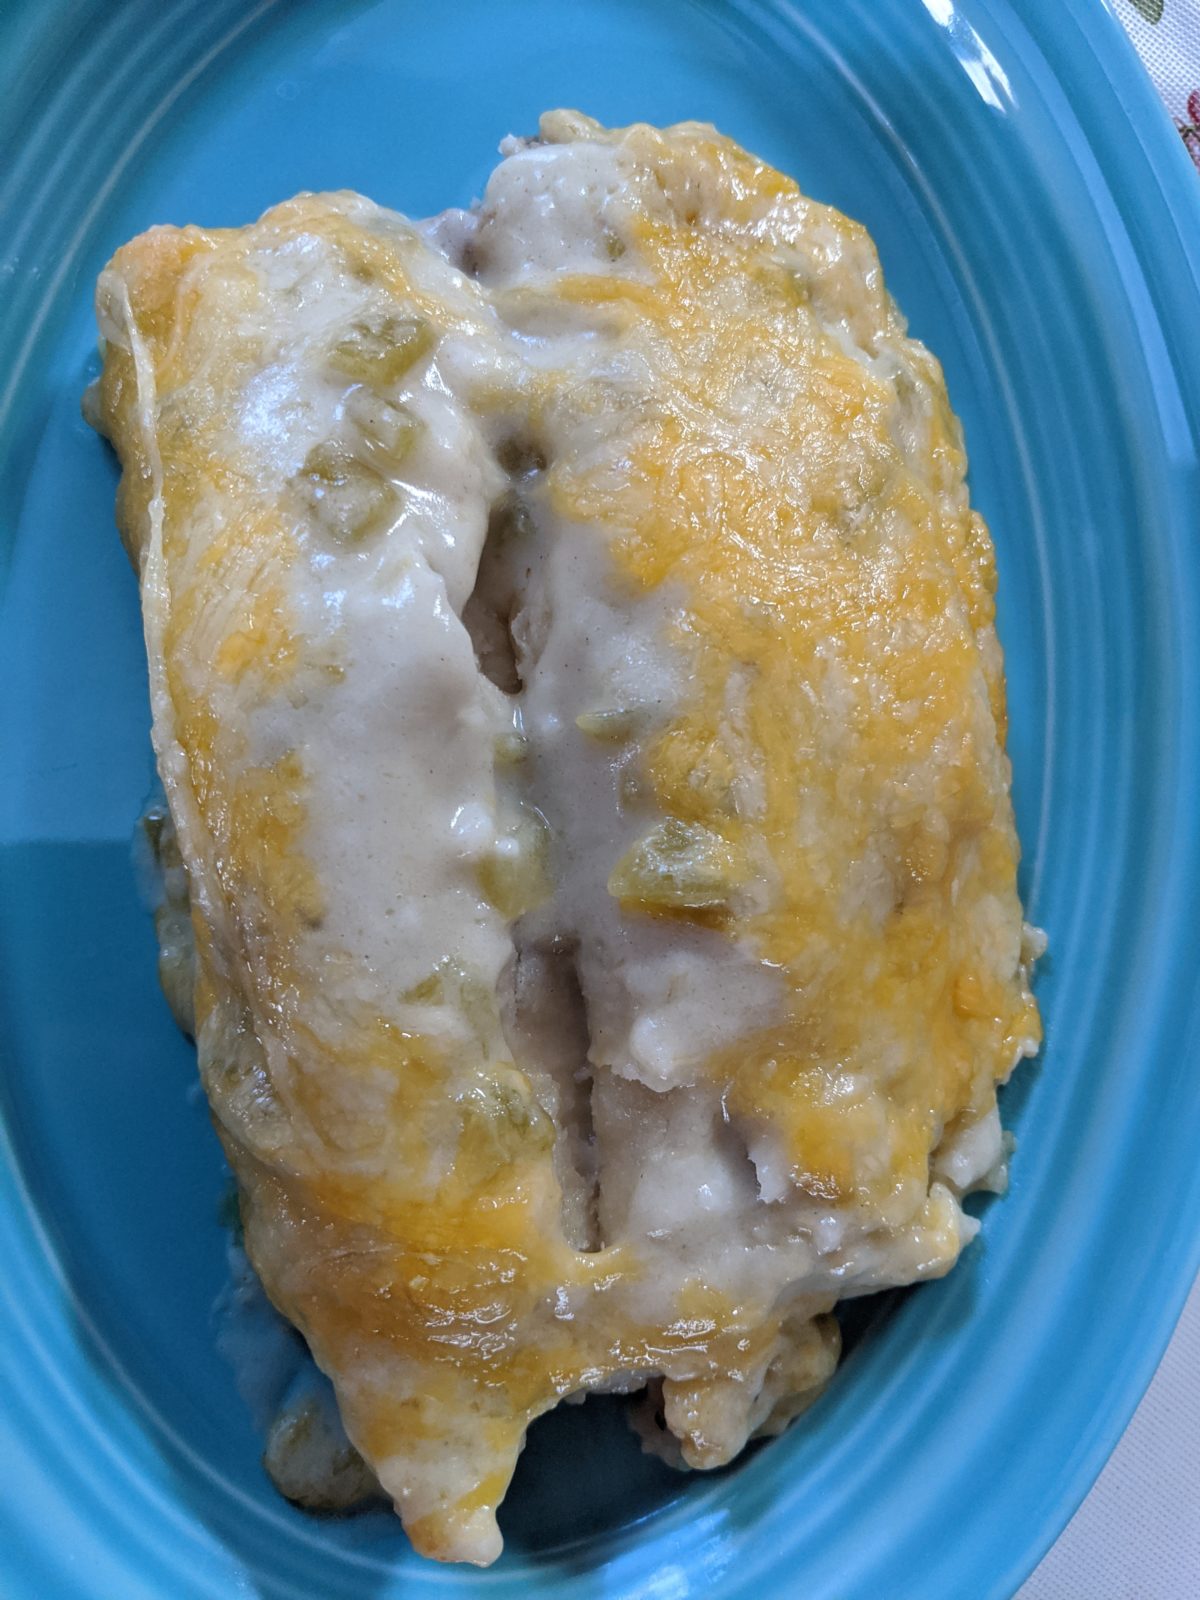
Roll up each tortilla and place in a sprayed 9x13" pan. I got 11 in my dish.
Pour sauce over top.
Sprinkle with remaining cheese. I don't measure my cheese, I just put whatever looks good to me!
Bake in preheated oven for 20 minutes.
Serve and enjoy!
Recipe Notes
Although spelt is an ancient form of wheat, most people with wheat allergies can eat it with no problem. However, it still contains gluten, so avoid spelt if you have a reason to avoid gluten.
Better than Bouillon organic beef and chicken bases are my favorite to use in broths because they are gluten free and soy free.
I have been trying to find a decent ketchup and BBQ sauce recipe for Whole30 and have not been happy with what I have found so far. I tried this recipe, which was originally supposed to be a Paleo BBQ sauce recipe, but it tasted like ketchup to me. So I have changed the recipe some to make it tastier and compatible with Whole30 and I like it better by far than the other recipes I have tried. Even better is it is super quick and easy!
This originally came from 40aprons.com. The only change I made to the ingredients was to add a little extra salt.
The only ground pork I could find in the grocery stores near me was so lean that it didn’t make good sausage, so we decided to grind our own from pork shoulder. It was a much better consistency!
Blend with an immersion blender in a wide mouth mason jar all ingredients, except herbs for approximately one minute. Start with the immersion blender at the bottom of your jar working your way up to the top. Don't start moving your blender upwards until you see it thickening up.
Incorporate the herbs during the last 15 seconds or it will turn your ranch green. Store in the fridge for up to one week.
Recipe Notes
A large handful of fresh herbs of your choice can be used in place of dried parsley. Our favorites are cilantro, parsley and dill.
If your ranch is too thin:
Make sure you are using full fat canned coconut milk. If you want a dip like consistency use only the solid cream, but for a dressing, use the cream and the liquid. It may also thicken up just being in the fridge for a few hours.
Make sure you're using an immersion blender for guaranteed success.
Use a small container, like a mason jar or salad dressing container.
HERE IS THE TRICK TO SAVING YOUR DUMP RANCH... If your ranch never thickens it probably didn't emulsify properly. Just add another egg! Yep, that's all it takes to quickly save all those ingredients.
Insert inner pot into Instant Pot and press saute button. Wait for the machine to say "HOT".
Add oil, onion and garlic. Saute for 3-4 minutes, stirring occasionally.
Add remaining ingredients and close lid. Set valve to "Sealing". Cook on high for about 5 minutes (1/2 the cooking time on the package of pasta you are using).
Let pressure naturally release at end of cooking time for 10 minutes. Manually release remaining pressure and remove lid. Stir and serve.
If you would like, you can add or substitute some cooked shrimp at the end of cooking. We don’t normally have it on hand, so I left it out of the recipe.
Press saute on Instant Pot and wait until it says "HOT".
Add oil to inner pot, along with chicken and sausage. Cook until chicken is done, about 5 minutes. Remove with slotted spoon and set aside.
Add onions, bell pepper, celery, and garlic. Cook and stir until onion is translucent. Add additional oil as needed.
If there is anything stuck to the bottom of the pan, add a little water to deglaze before continuing on.
Add remaining ingredients. Put lid on and set to "Sealing". Cook at high pressure for 7 minutes.
Let pressure naturally release for at least 10 minutes before manually releasing remaining pressure.
This was very good served with Cholula hot sauce and Monterey Jack cheese. (Probably not authentic, but good anyway.)
Recipe Notes
Emeril's Essence Creole Seasoning:

2 1/2 T. paprika
2 T. salt
2 T. garlic powder
1 T. black pepper
1 T. onion powder
1 T. cayenne pepper
1 T. dried oregano
1 T. dried thyme
Set Instant Pot to saute. When it says HOT, add oil.
Add ground beef, onions and garlic to pot. Cook until meat is browned, stirring to break up meat. Season with salt, pepper, thyme and Worcestershire sauce as it is cooking.
Add tomato paste, water and beef base. Stir to scrape up any bits stuck to the bottom of the pot. Add elbows. Press cancel to stop Saute.
Lock lid in place and seal valve. Cook on high pressure for 4 minutes. (Cook time may vary with the kind of pasta you choose to use). Quick release the pressure. Stir in half of the cheese. Serve remaining cheese on the side.
Put chicken pieces directly into the water inside the Instant Pot. Add cilantro and lime juice.
Combine seasoning ingredients and add to chicken.
Close and seal lid. Cook on high pressure for 15-20 minutes.
Let pressure naturally release for 10 minutes after cooking is done.
Open lid and remove chicken breasts. Shred and add to tortillas, salads, rice, nachos or whatever you want, with your favorite toppings. For Whole30, this makes a great salad!
Recipe Notes
I used chicken breasts. 3 of them weighed 2 lbs. 20 minutes seemed about right for that size of breasts, but it was a little on the dry side.
In a heavy saucepan, cook and stir sugar over medium-low heat until melted and golden, about 20 minutes. (This photo was taken about 10 minutes into the stirring time.)
Pour into 8" round cake pan with at least 2" sides and cover bottom of pan.
In a large bowl, beat the cream cheese until smooth.
Beat in eggs, one at a time, until thoroughly blended.
Add remaining ingredients, mixing well.
Pour into pan over caramel base.
Put 1 1/2 cups of water into Instant Pot insert. Layer an Instant Pot sling, the trivet, the baking pan and a lid (or foil).
Place into Instant Pot and close lid, making sure valve is in the "sealing" position. Set on high pressure for 14 minutes. When time is up, turn Instant Pot off, but leave lid in place.
Let pressure natural release completely. When the pin has dropped, remove lid and remove the sling with the flan. Let cool on rack for awhile until cool enough to refrigerate.
Refrigerate until cool. Slide a knife around edge of pan to release. Place a plate with a lip or a slope over pan and quickly turn over to remove flan onto serving plate.

")

")


